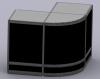
EmilRindell.jpg.e62f29c46831f879068ae73cbc87f150.jpg)
emil.rindell
-
Posts
189 -
Joined
-
Last visited
Content Type
Profiles
Forums
Blogs
Downloads
Articles
Gallery
Everything posted by emil.rindell
-
Ok thanks, I found out based on the link that Tom wrote, that an area light shall be used instead of a spotlight! I will post the final rendering later on.
-
Thanks Cary!
-
WOW, That's very helpful! Thanks Tom!
-
Ok, where do I find this setting? I could not find it in "Advance Settings" for shadows. If I Enable Photons in the GI setting, how will that effect the light in the rendering? I have never really figured out what this setting would do and when/where to use it.
-
Ok, well I agree, so as soon you enter the value for the transparency this function will become active on that specific part. Now it's abit time-consuming to create models with many transparent parts because you need to enter this on every single part. What do you think about the "Save Warning" then?
-
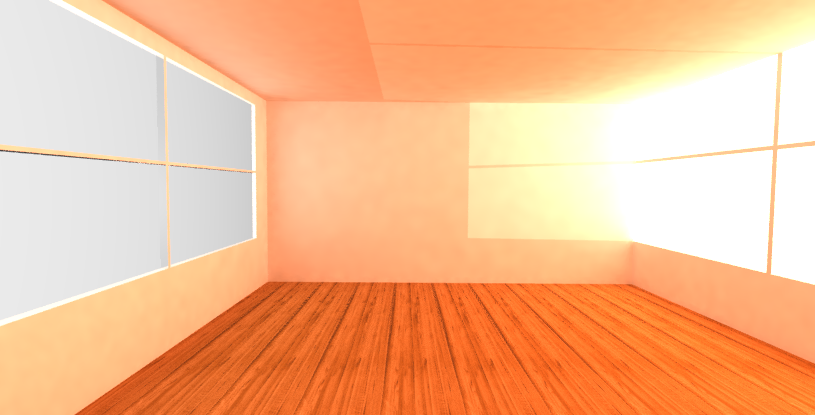
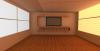
Hi, I working on a interior rendering and trying to get visualization of realistic sunlight that "entering" through a window. I had used GI and a white scene BG as basic daylight. And then add a spotlight outside the window just to straighten up the sunlight through the windows. But as you can see on the images below, the shadows becomes too sharp on the wall. How can I blur out the shadows to get it more realistic? Or shall I use a different lightsource for the sunlight? First Result: Second Result: *Ignore the artifacts behind the shelf, I will fix this in the final rendering

-
Here is some ER for rendering: A default setting for "Lock" rendering windows. A default setting for "Render both sides of surface". And the most important one: Before a finished rendering is closed it should be great to have a "Save warning" if the rendering not has been saved. It had happend sometimes that you just close down the window as an reflex and poof 4 hours of rendering material is lost..
-
EmilRindell.thumb.jpg.29678b5c5d1acabccc15c66d12b57b42.jpg)
XG Rendering - Which do you prefer?
emil.rindell replied to Cary OConnor's topic in Realistic Rendering and Animation
The right one with the lighter background is the best, it look more realistic. -
I'm sorry I'dont have that product, I could do some more searching later on if you want to.. The renderings was found on this page: http://www.indigorenderer.com I know that you were going to like this Tom
-
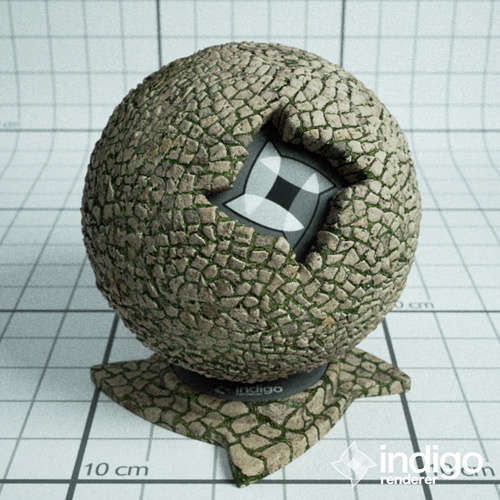
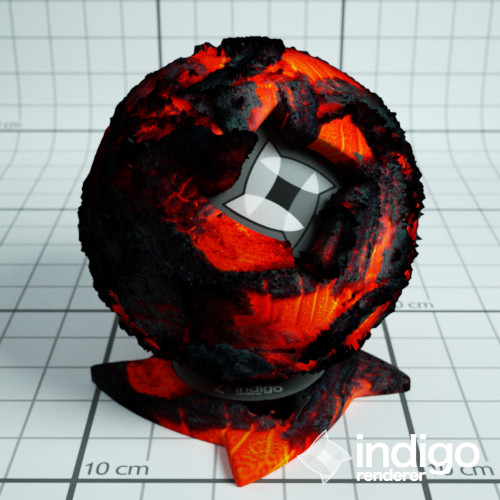
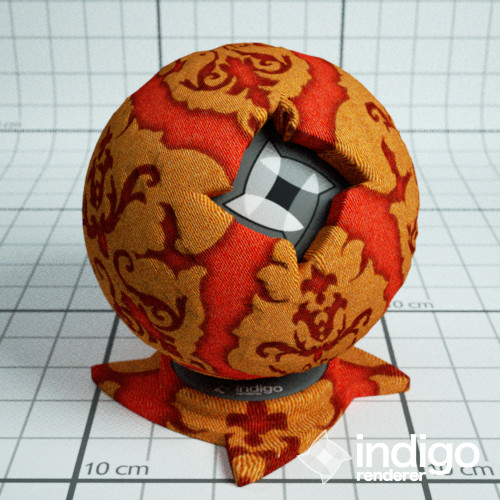
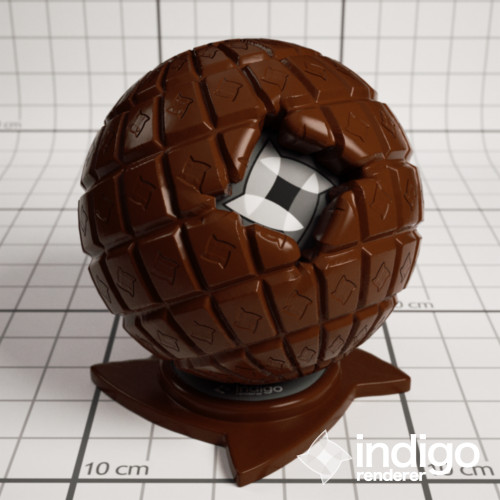
I understand..but I think those who render alot will find this feature verry usefull. In general renderings you could use this at any part that you want to have an rough and "bumpy" surface.. I found some more examples: Bricks: Fire: Fabric: Chocolate: Tree: As you can see there is no limit where to use it! Just think of the renderings you could do with this feature


-
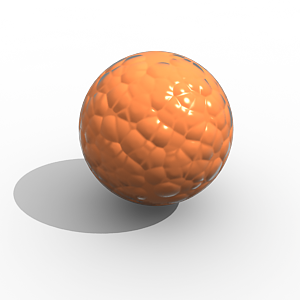
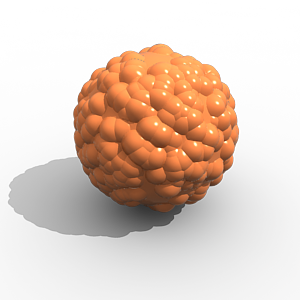
I know that we have the abillity to add a bumpmap on a surface and if you use them correctly you could do some pretty cool and realistic renderings... But it would be more awesome to have displacement maps as a feature aswell. With this kind of feature you could for example create realistic bricks, grass etc with just an image. Please add this into IRONCAD See the examples below to see what I mean: Bump map: Displacement map:
-
Trashed fillets and surfaces
emil.rindell replied to emil.rindell's topic in Realistic Rendering and Animation
Aha that's the explaination, well now i'm going to be more accurate when I place the camera! Thanks Cary -
Trashed fillets and surfaces
emil.rindell replied to emil.rindell's topic in Realistic Rendering and Animation
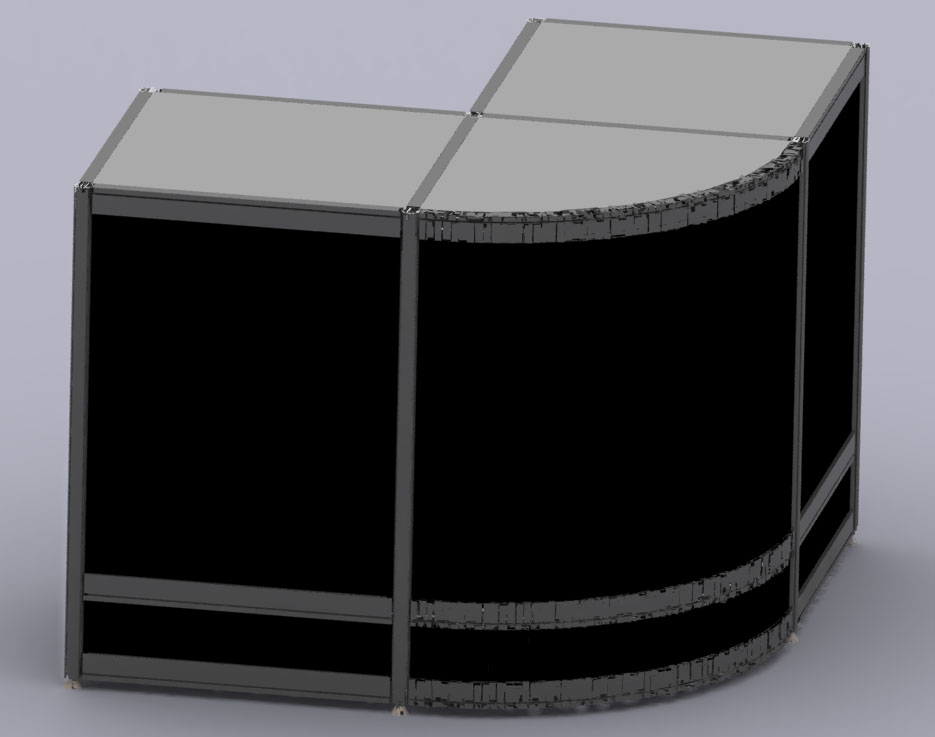
Do you know were to set the right pxiel ratio? But I want to have the ability to change SQ and Precision, if I dont have Enable Irrdiance Cache activated I cannot set these values, or do you got any tip what I could do instead? Sorry that is correct, I forgot to unlik any external files . Here is the new one: Kassadisk_new.ics -
I have seen this a lot when I render BUT I have never seen this when GI is deactivated. Most of the times this is seen on fillets and curvated surfaces. I've tweaked, tweaked and tweaked but it will not disappear. Right now i'm using Photoshop to heal the rendering. Any idea to get rid of this error? Scene file: Kassadisk_scen.ics Preview Image: