jolizon590016
-
Posts
1,662 -
Joined
Content Type
Profiles
Forums
Blogs
Downloads
Articles
Gallery
Everything posted by jolizon590016
-
Hi Kevin, The thread on part 44 still did not generate (please un-suppress from the scene tree). No error message just stopped. I will play with it again. Joseph
-
Hi, The file keeps crashing IC or make IC stop responding. I copied the part and changed the construction and used the custom hole from the tools catalog. However as I try to recreate the original part, once I applied the thread it gives the feed back the geometry is too complex. Just recently I tried using the thread and custom hole from the ribbon bar and it does nothing. To isolate the problem, I tried it on 2012 and does nothing like 2014. Wondering if the error sort of corrupted the IC files. Thanks error_filecushole.ics
-
Hi Cary, This got posted today http://www.manufacturerssuccessconnection....tion-suite.html based on the press release. Regards Joseph
-
Surfacing like doing a safety hard hat
jolizon590016 replied to jolizon590016's topic in Tips and Tricks
Thank you Eric for this learning experience and contribution. Best regards, Joseph -
I stand corrected Kevin, my settings sort of changed to OpenGL. Once set to OpenGL2 like the 2014, both are same. My error.
-
I tried rendering with HDR background and rendering times. Photons enabled on the higher and extreme GI settings. With 2014, the photons are enabled on the high setting. High settings without enable photons show very good results, no need to push further. Kevin, with 2014 the screen rendering seems different, compared to the 2013. Used the same file. Regards


-
Surfacing like doing a safety hard hat
jolizon590016 replied to jolizon590016's topic in Tips and Tricks
Please share work around techniques that can improve the process and others may learn. Thank you -
Hi Cary, Only discovered this recently: http://nzmanufacturer.co.nz/2013/03/ironca...sign-dexterity/ Regards, Joseph
-
Inserting Illustrator/vector artwork into icd
jolizon590016 replied to Mike Allen's topic in General Discussion
I tried that last night, it caused errors with pyhton.exe. I tried my Illustrator 9.0 and it changes the system to basic compatibility mode for IC, didn't work either. Every time I use Illustrator , it goes like this with Windows 7. It doesn't like the aero peek features of the desktop. However Illustrator works as a standalone app, can't work with any. I haven't tried setting all in 32 bit compatibility mode yet. Regards, Joseph -
Inserting Illustrator/vector artwork into icd
jolizon590016 replied to Mike Allen's topic in General Discussion
I tried converting jpg to bmp, it works on an icd sheet but doesn't offer the smoothness of png or jpg. regards -
Okay and thanks.
-
Hi Kevin, I have attached the file. Thanks and regards, Joseph
-
Did I do something on the setting


-
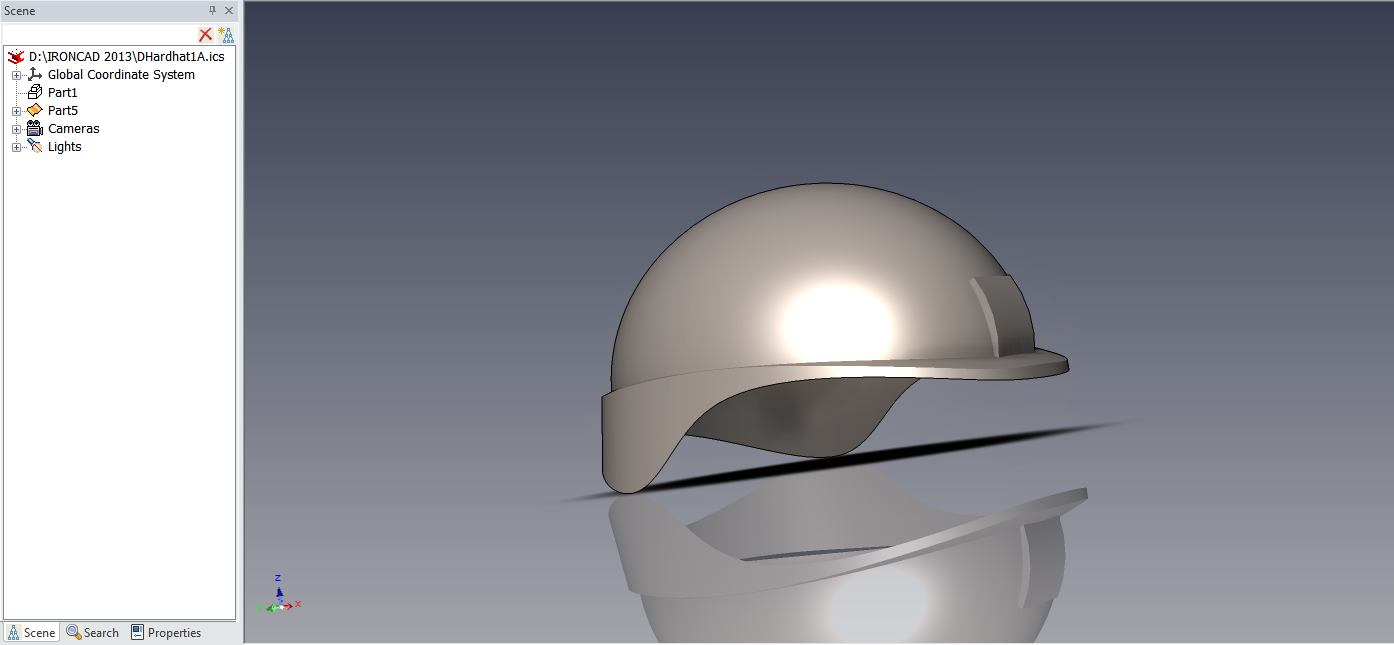
I have uploaded the Step by step Safety Helmet files. Good evening. Regards, Joseph DHardhat2A.ics Safety_Helmet_step_by_step_IC2013.pdf

-
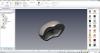
Hi to everyone. This exercise is following completely how to do a hard hat by just using the IronCAD modeling process. This is without using steps found in other software but using work around techniques with IronCAD to create the desired outcomes. I will document a step by step pdf for this exercise soon. Regards, Joseph

-
Thanks
-
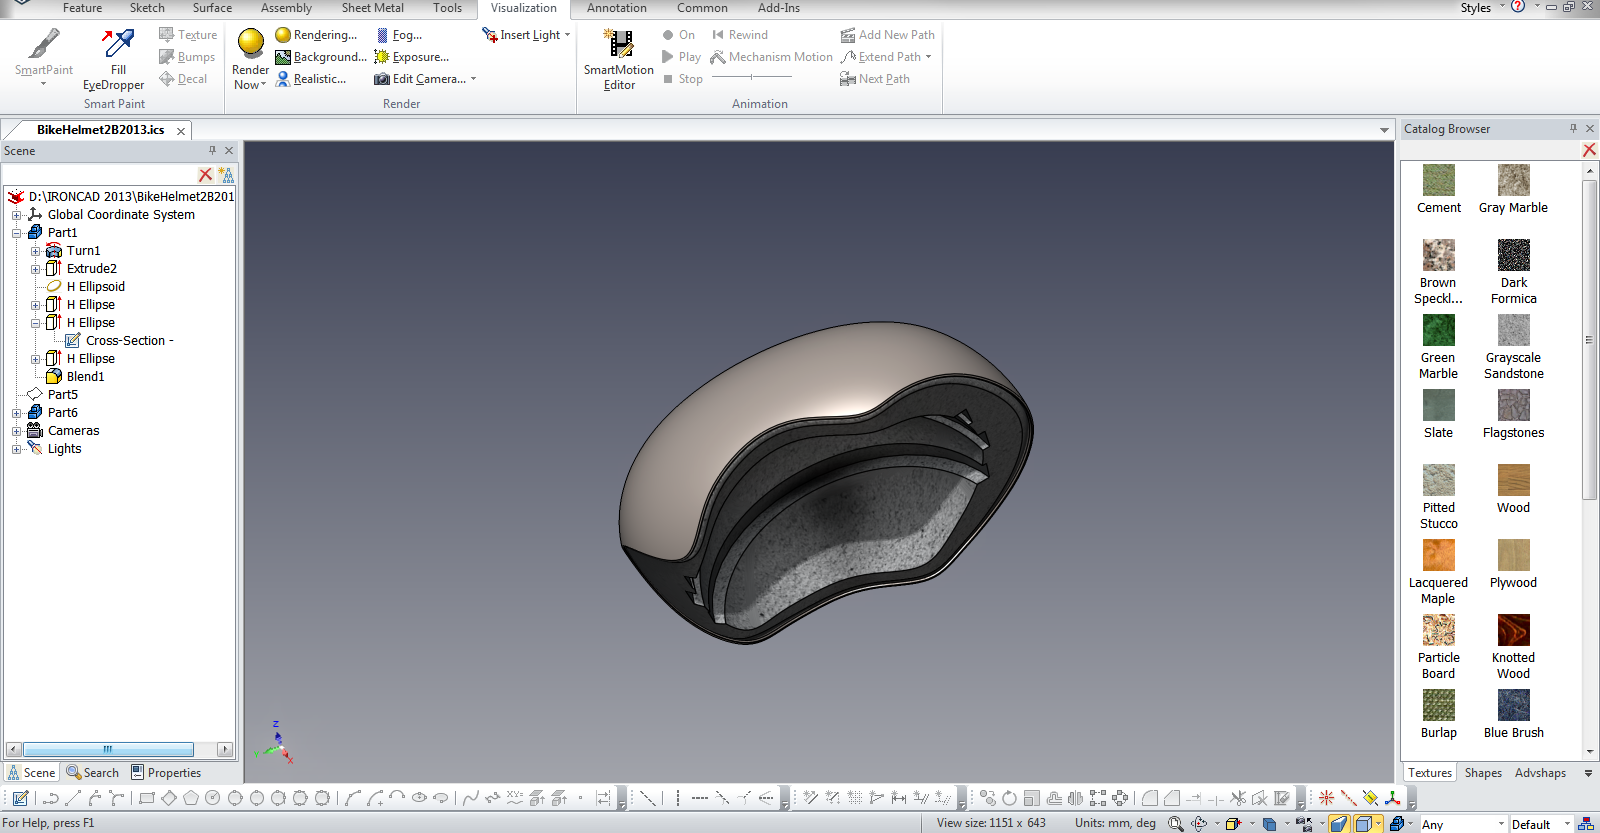
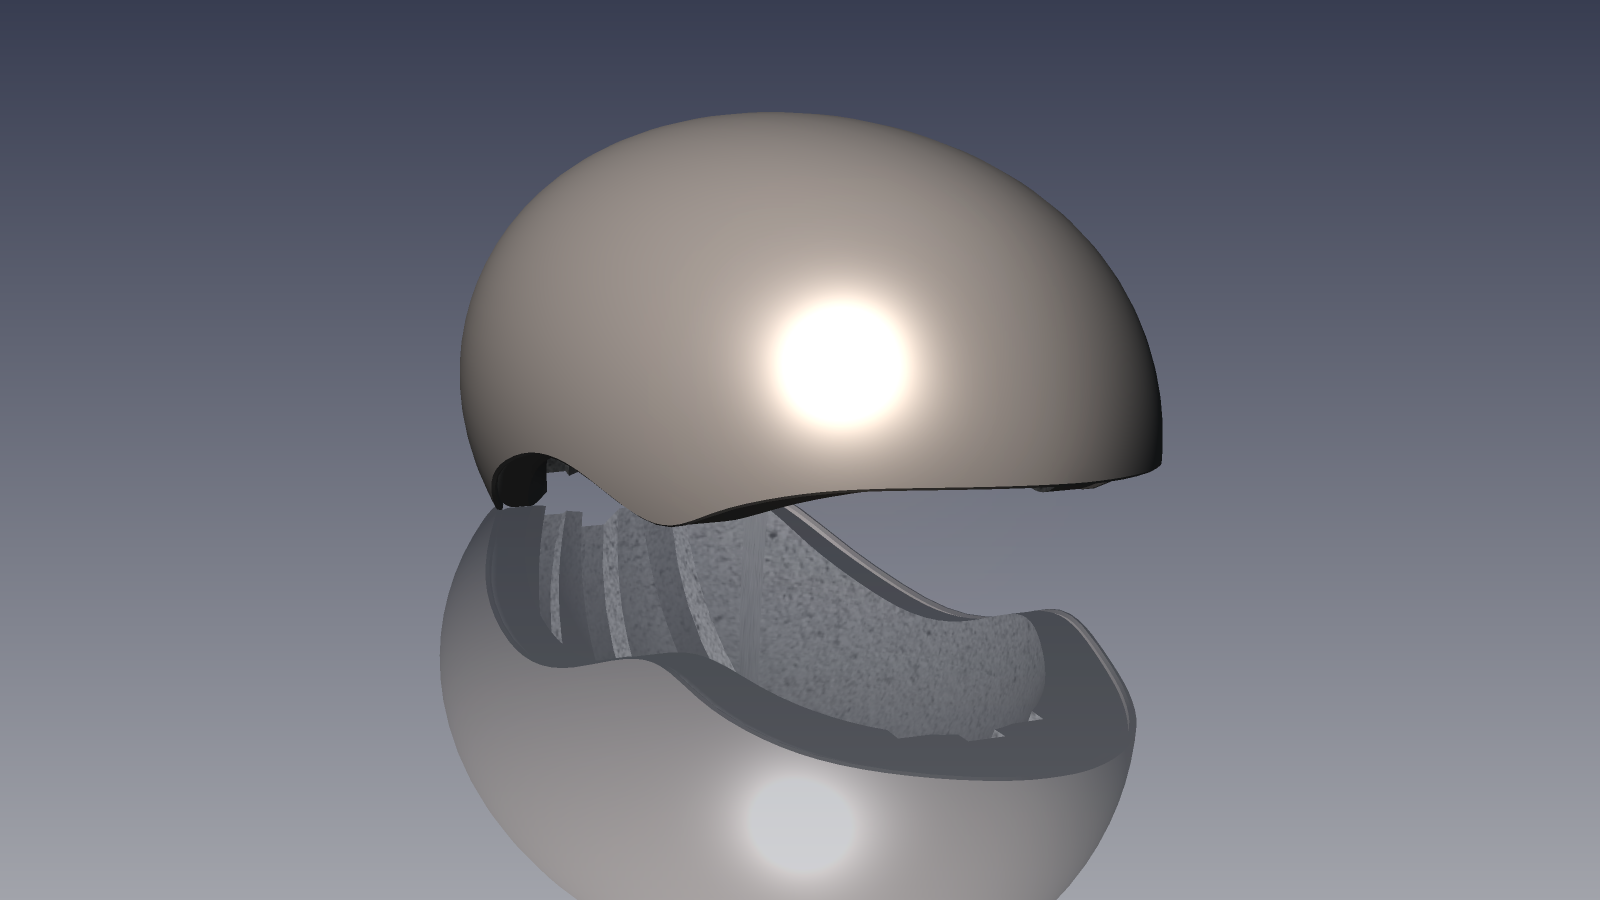
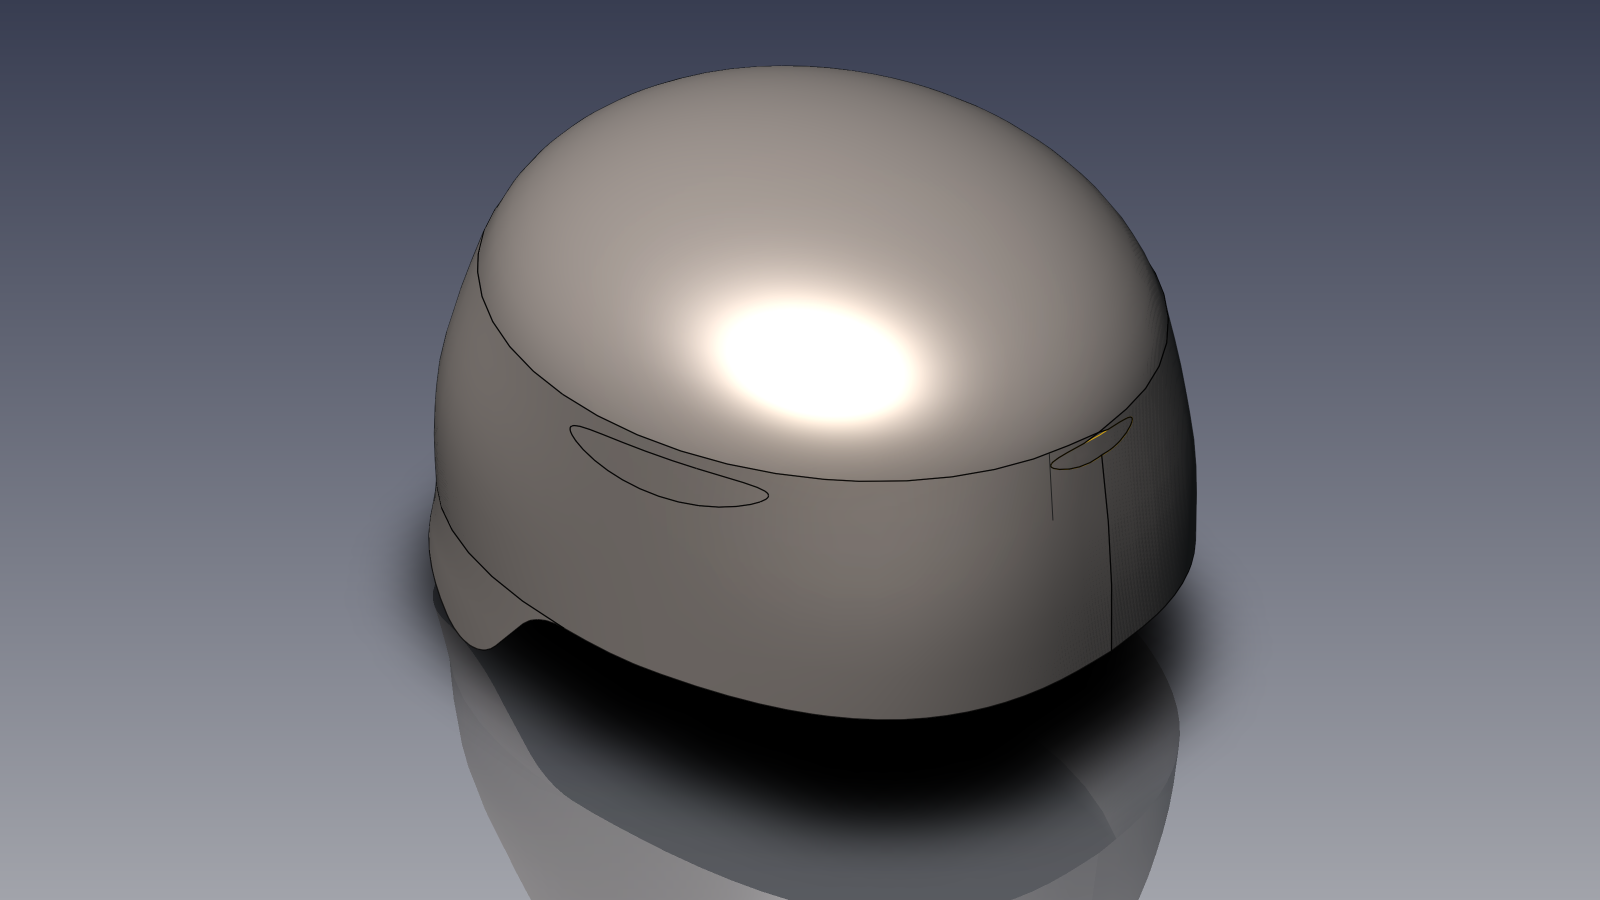
I documented a step by step pdf in creating this bike helmet. I do hope it will be useful for the community Bike_Helmet_step_by_step_IC2013.pdf BikeHelmet2B2013.ics
-
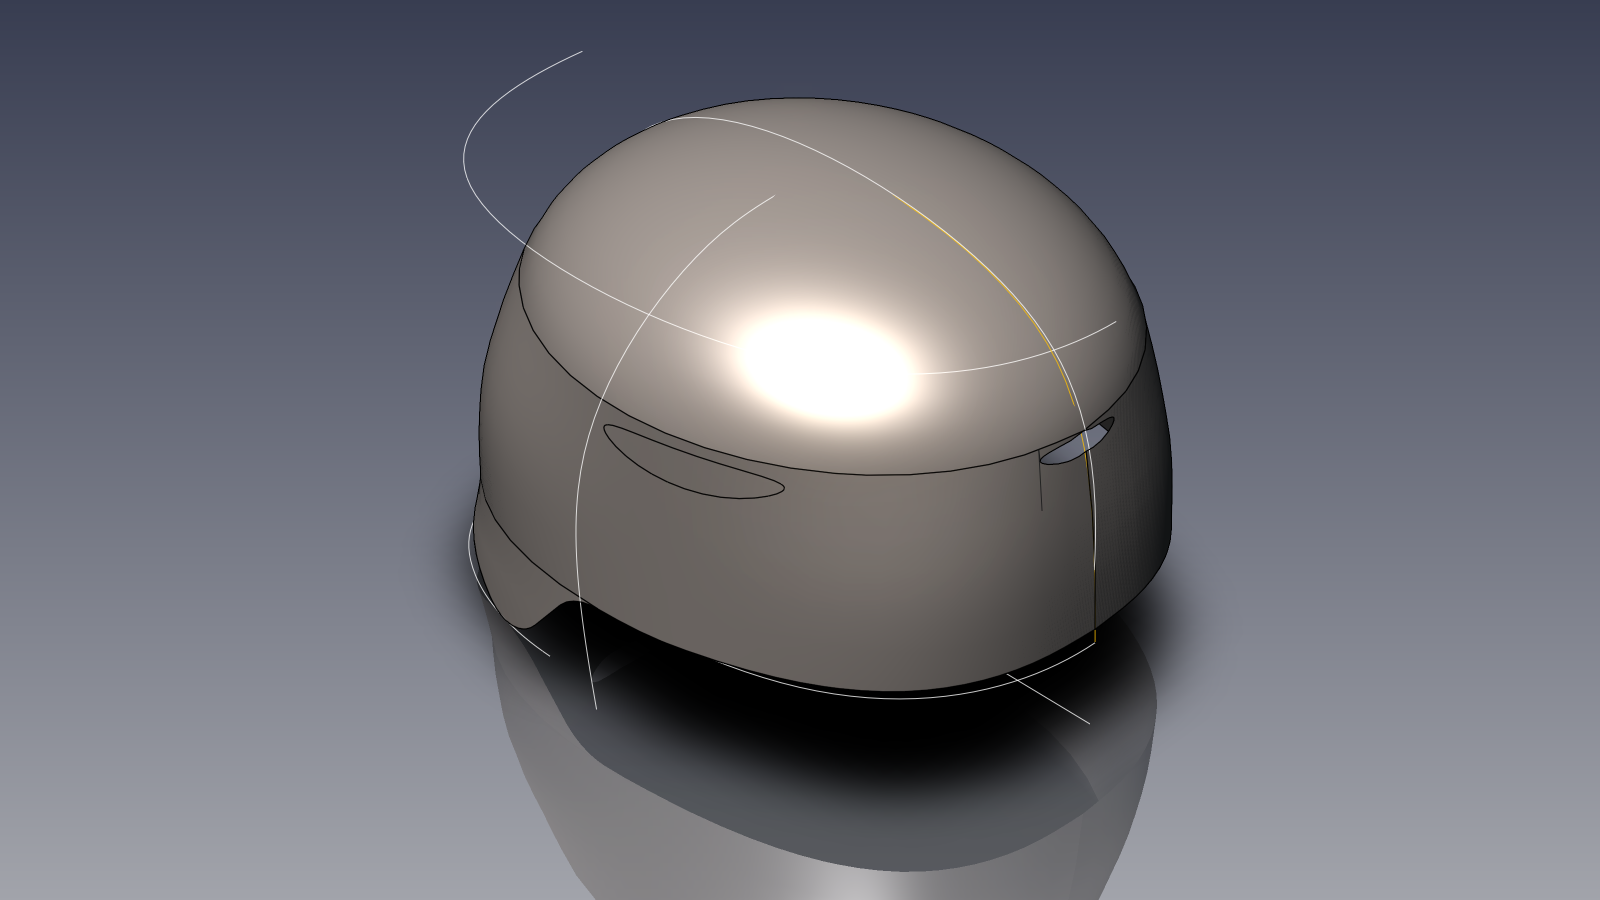
I recreated the bike helmet for the IC2013 version. I didn't get the exact proportion earlier created. This time: spline tool was used, orient the added shapes via the tri-ball's feature attached to global by right click on the inside space of the tri-ball on the selected object. This model is more accurate in geometry than the previous on. Cheers BikeHelmet62013.ics


-
Update on the project: created vent grooves but no duct ports yet. Also created an outer shell but seems to mark a seam . Bikehelmet5.ics
-
Hi again. This time I am trying to do a bike helmet using IC2014Beta. Tools used: Spin with bezier; Extrude remove with spline; H ellipsoid and H ellipse. This still a basic shape and head size is similar to the previous surface exercise. Bikehelmet4.ics


-
dleczynski got it covered. i7 or Xeon will great if you do a lot modelling plus rendering on IC on tight deadlines. i5 will do just fine if do more modelling work than rendering and save up for ram. Use the second fastest memory available to save for capacity than the fastest with less ram. I am using a second gen i5 MSI FX720 notebook with a Nvidia 520GTM. It came with 6 GB Win7 Home Premium 64 bit. I made it 8 GB and it gave more headroom. I use to have a AMD Phenom II X4 960T with 8 GB ddr2 for a desktop and my notebook out runs it in rendering. I have upgraded now to an AMD FX 6300 with 16 GB of ddr3 1600 ram. It works fine with modelling but weak on rendering. I have installed a 120GB SSD with the OS and key programs on it and used my existing hdd sata 3 for working file storage, now it is a whole lot better like a workstation. I chose an AMD processor because I have a tight budget, Intel gives you a bang with the cost. Xeon processors range is now competitive in price compared to i7 range. Awesome. Lately I installed KeyShot4 trial to test it 2014 as a add-in, the rendering weakness went out door in less than a minute. Wicked I have no experience with FirePro or Quadro class videocards, but the top end of consumer mid range class or entry model of the top end range just works. From my experience, if you are using 1600 x 900 resolution with dual display the top mid range class delivers. If you are using 1920 x 1080 resolution or higher in dual display, the top end range will work best. Regards, Joseph
-
Surfacing like doing a safety hard hat
jolizon590016 replied to jolizon590016's topic in Tips and Tricks
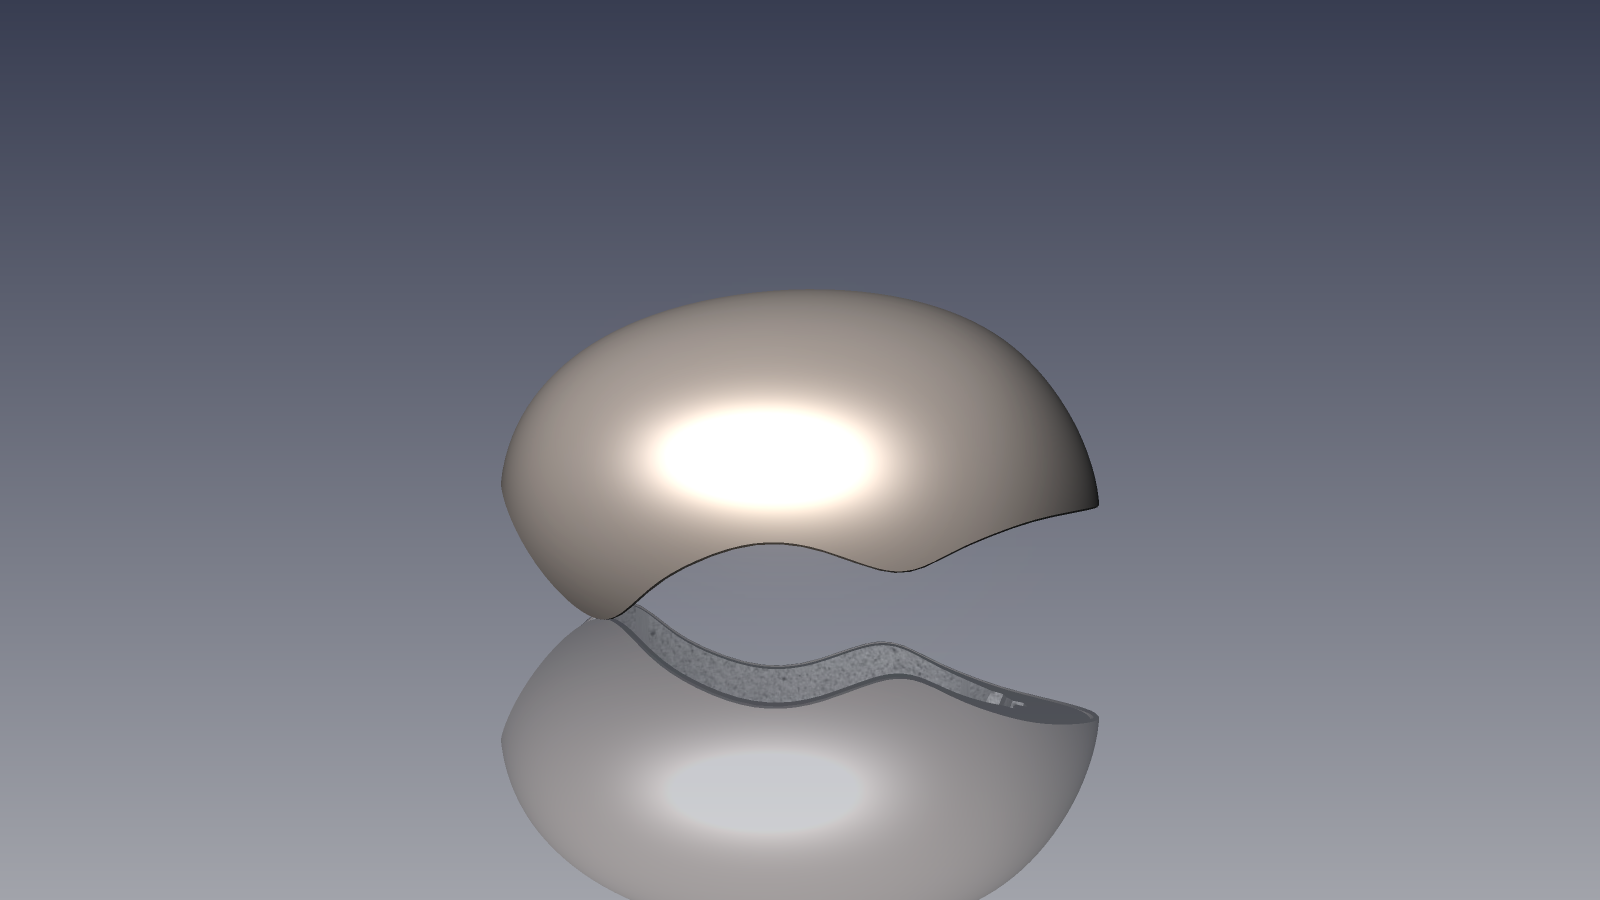
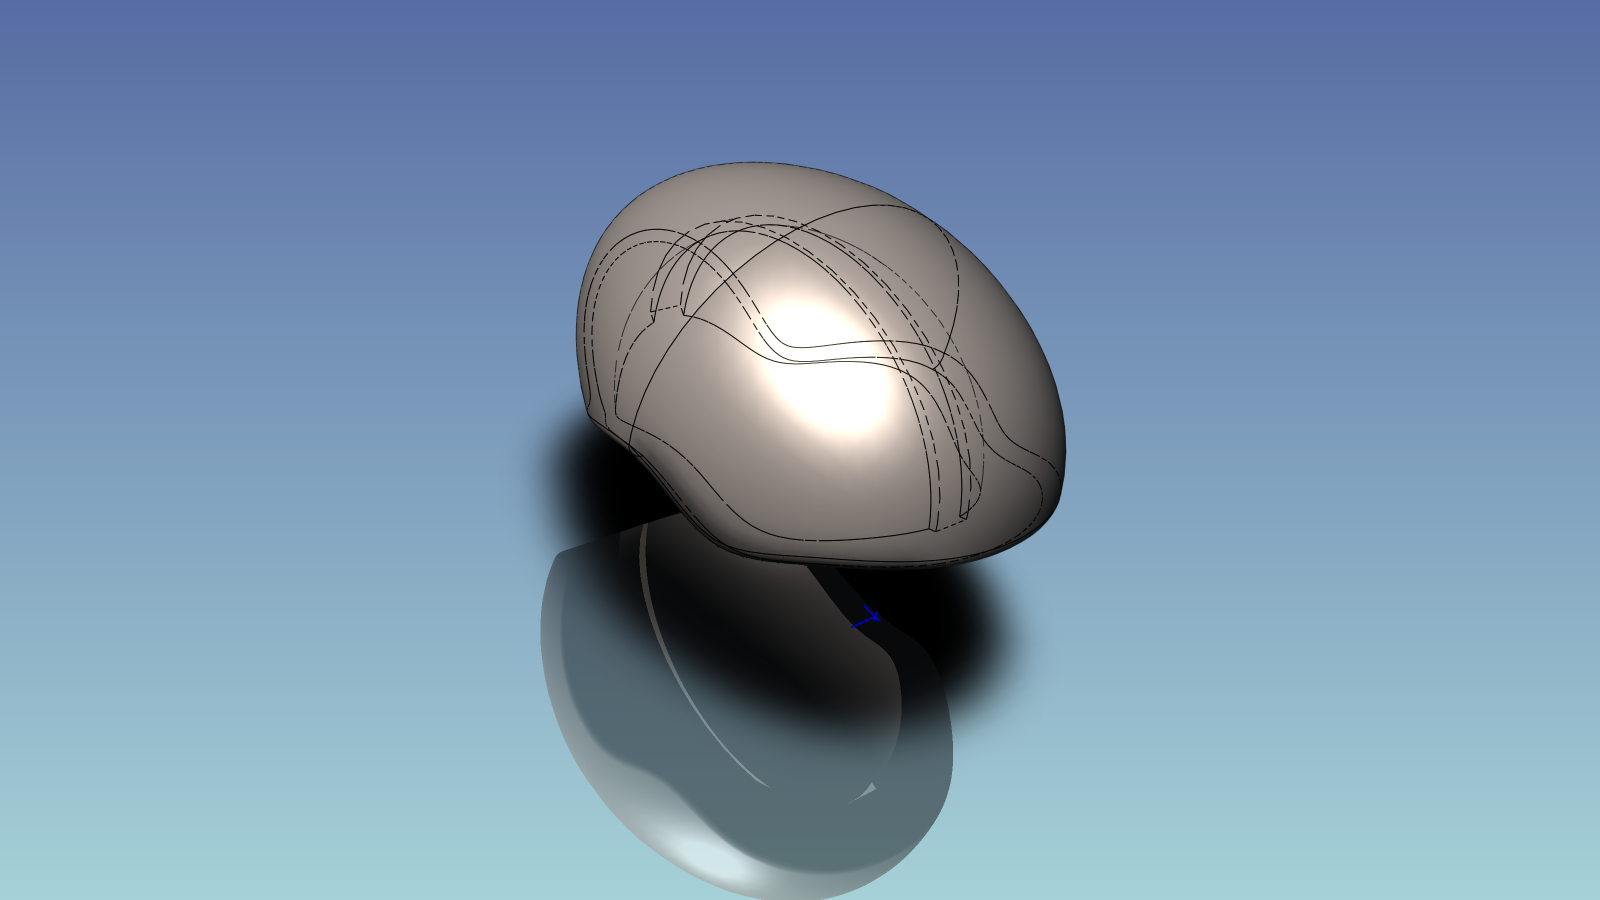
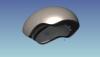
I have created a different work around, trying to have a smoother surface. I lofted 5 sections but the loft twist on the 4th and fifth sections. As a note the fifth section is a ellipse and the prior sections are splines. Created a new guide curve but won't follow through . With V1.4, I usually increase the facet rendering to resolve similar encountered problems. What I did this time is to loft the sections in half instead as a whole, copy and mirrored the parts. Extracted the surface from the solid created. If there are better work around, please advise and share. Dhardhat_5.ics
-
Tom, You have 20/20 vision, lucky you Joseph
-
Surfacing like doing a safety hard hat
jolizon590016 replied to jolizon590016's topic in Tips and Tricks
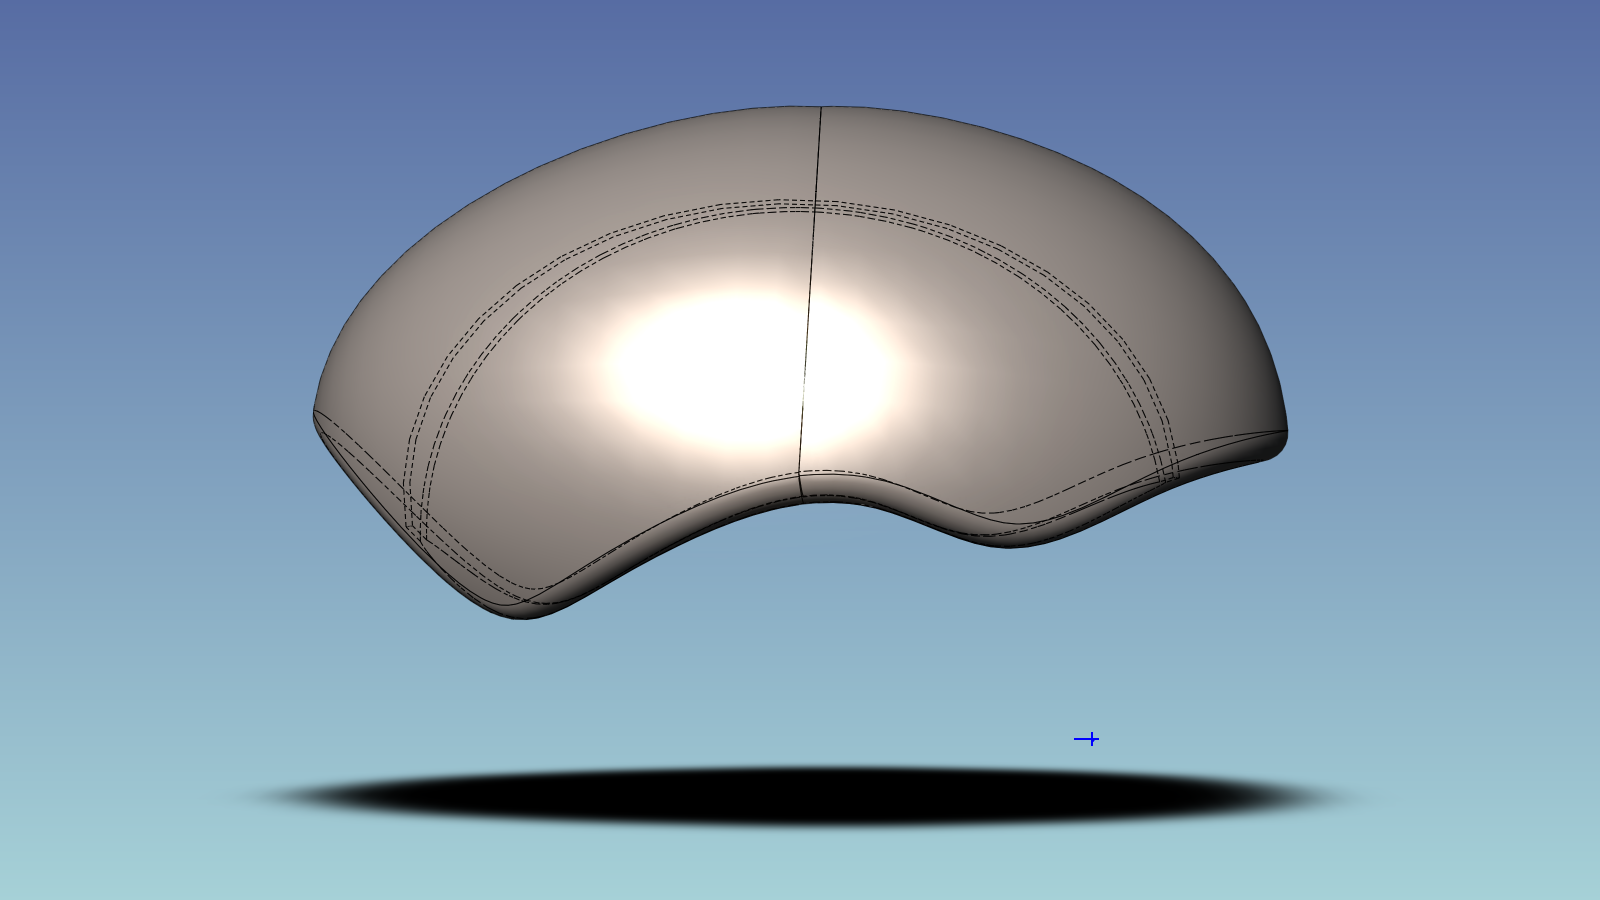
I have solved the holes in the front and back of the model. I merge the curves first and able to patch by selecting the merge curves and selecting the surface as the part . Almost finished trying to merge all surfaces as one, but as trimmed surfaces it doesn't allow me to do so. I tried to extract it as a new surface but didn't show the window merge it as one yet. Hope this also helps others Bhardhat_9.ics
-
Surfacing like doing a safety hard hat
jolizon590016 replied to jolizon590016's topic in Tips and Tricks
I was able to figure out how to use patch a surface on holes on the left and right side . Before the patch was a concave, but by selecting the curve and using the surface as a part resolve it. What is left to solve is the front and rear holes which require a different workaround to patch it. I place a 3D curve on edge line on the center of the front hole but didn't work to close and follow the overall surface . Any suggestions or tip will be most welcomed. Regards Bhardhat_8.ics